Saint Anderw the Apostile Statue
This page documents the stages in the creation of a woodcarving of Saint Andrew the Apostle. The figure, hand-carved in basswood and standing five feet in height, is a commission for Saint Andrew the Apostle Catholic Church, located in Apex, NC.
Saint Andrew
Andrew and his brother Simon Peter made their living as fishermen on the Sea of Galilee. Of all the Apostles, Andrew was considered the first to become a disciple of Jesus. It was Andrew that introduced Peter to Jesus. Both men became Apostles, leaving everything to follow Jesus.
Before Jesus fed the Five Thousand, it was Andrew who said, “Here is a boy with five barley loaves and two fish, but what are these among so many?”
Andrew accompanied Jesus during His public life and was present at the Last Supper, beheld the risen Lord, and witnessed the Ascension.
Andrew traveled to Greece and to the City of Byzantium where he founded the Christian Church. The Roman Governor Aegeas condemned Andrew to death by crucifixion on a X-shaped cross (saltire) with his body bound to the cross upside down.
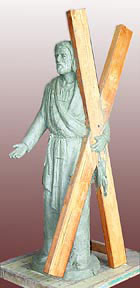
The half-size plasteline maquette is used for taking accurate measurements to enlarge the final carving in wood.
Work in Progress
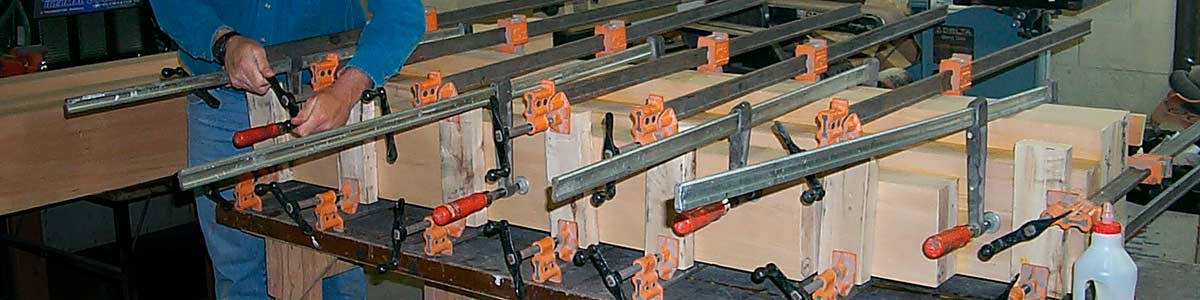
The sculpture will be hand carved from kiln dried basswood boards glued together to create a large block of solid wood to accommodate the five foot figure. The basswood boards are three and one half inches in thickness and average 6 feet long and 8 inches in width.
The boards were milled on four sides and then hand scraped to remove any imperfections left by the planer.
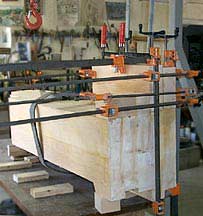
Here five boards have been laminated together. It is a slow process of adding one board at a time.
Another layer of boards is glued onto the top of first set of boards to fill out the full dimensions of the figure.
It is time to square off the end to create a flat bottom.
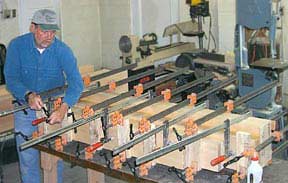
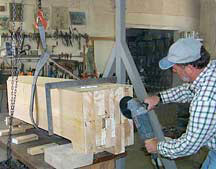
The block is becoming too heavy to lift and move safely by myself, so I do the lifting with the gantry.
Two more boards are added. This brings the total to 10 so far.

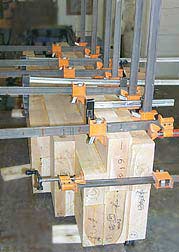
The last three boards are glued and clamped.
The right side of the figure is holding the cross so numerous additional boards were added on this side.
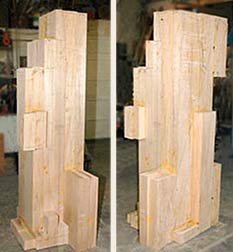
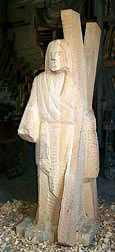
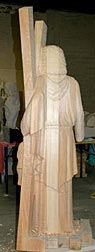
Here is the six foot high block of wood with all the protruding parts of the figure, like the arm and cross, glued on.
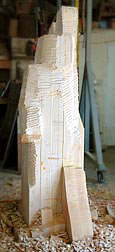
I began the roughing out process with the chain saw. The chain saw removes large areas of scrap wood to quickly get down to the profile.
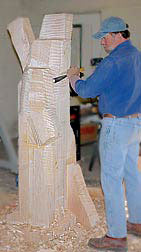
Not wanting to take off too much too fast, I switched to the mallet and large gouge chisel. It is slower, but a more accurate way to remove material, and allows time to 'find the form' as I work.
It is important to 'block in' the large basic shapes first and establish the dominant planes.
I stop often to take careful measurements form the half-size maquette to make sure that the features fall in the right place.
One of the first things I do is to establish the flat plane of the cross.
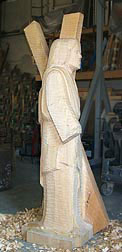
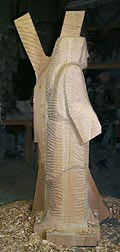
After the large shapes have been roughly established, I can begin defining some of the larger details.
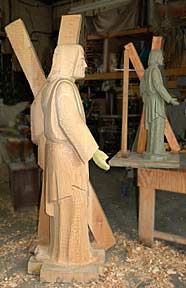
Folds in the clothing begin to appear along with other details, like the rope around the waist.
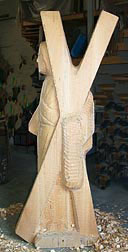
The shape of the cross is defined. I am careful to keep checking the clay model for accurate measurements.
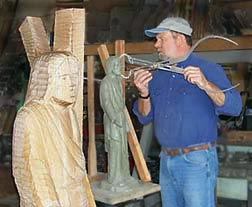
The clay model is exactly half the size of the wood carving. I can make an accurate enlargement of the model by using proportional calipers which I have set at a ratio of 1:2.
I take a measurement with the small end of the calipers of the head size of the model.
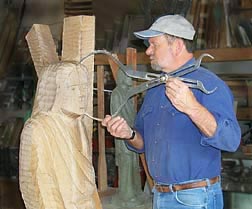
I then go to the carving. With the calipers turned around to the larger end, I have an accurate two-time enlargement of the head size for the carving.
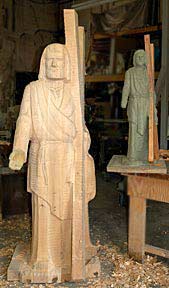
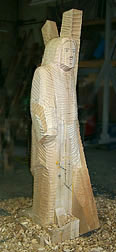
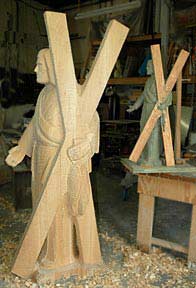
By now all the scrap wood has been carved away. I am down to the actual surface of the figure and can begin carving in the details.
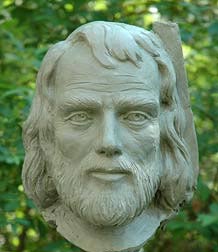
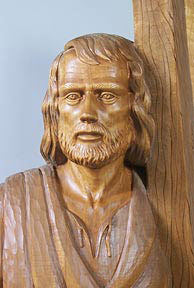
I made an actual size (1:1 ratio) clay model of the head so that I can take accurate measurements when carving the face.
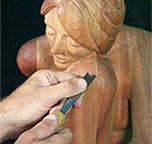
Now that the large shapes and correct proportions have been established, I can begin putting in folds in the fabric, and shaping the face.
I work on the hands and start to define the fish Along with measuring with the calipers, I also stand back and just measure by eye.
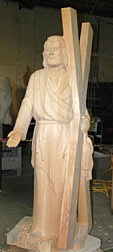
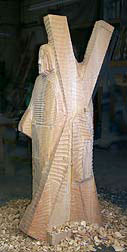
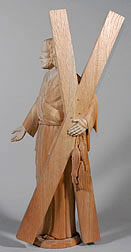
The sculpture is nearing completion.
I begin putting in the final details.
The focus now is on the texture for the surface finish.
Time to remove the extra wood at the base that was left to stabilize the sculpture.
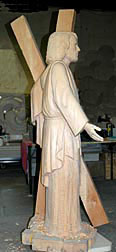
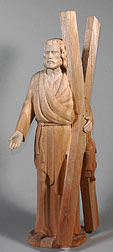
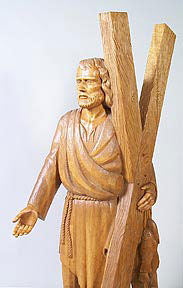
The carving is complete.
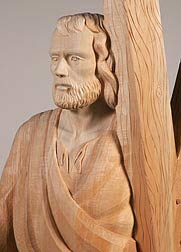
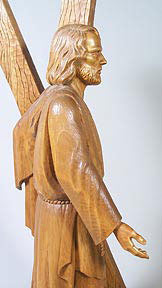
I sanded the face and hands in preparation for staining.
I left chisel marks as texture on the rest of the figure and cross. Wood grain detail was carved into the cross.

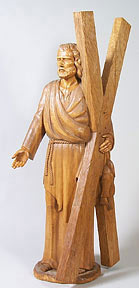
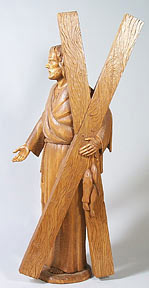
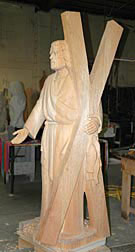
Basswood is soft and absorbent, so I applied a wood conditioner to the wood before brushing on a Minwax stain. The next day I applied several coats of a wipe-on polyurethane finish, which gives a hand-rubbed semi-gloss finish.

Saint Andrew statue installed
 |
A brief introduction about how to carve wood sculptures. What wood to use, what tools are needed, and the techniques of how to carve wood. |